Guided Tutorials with Sample Data
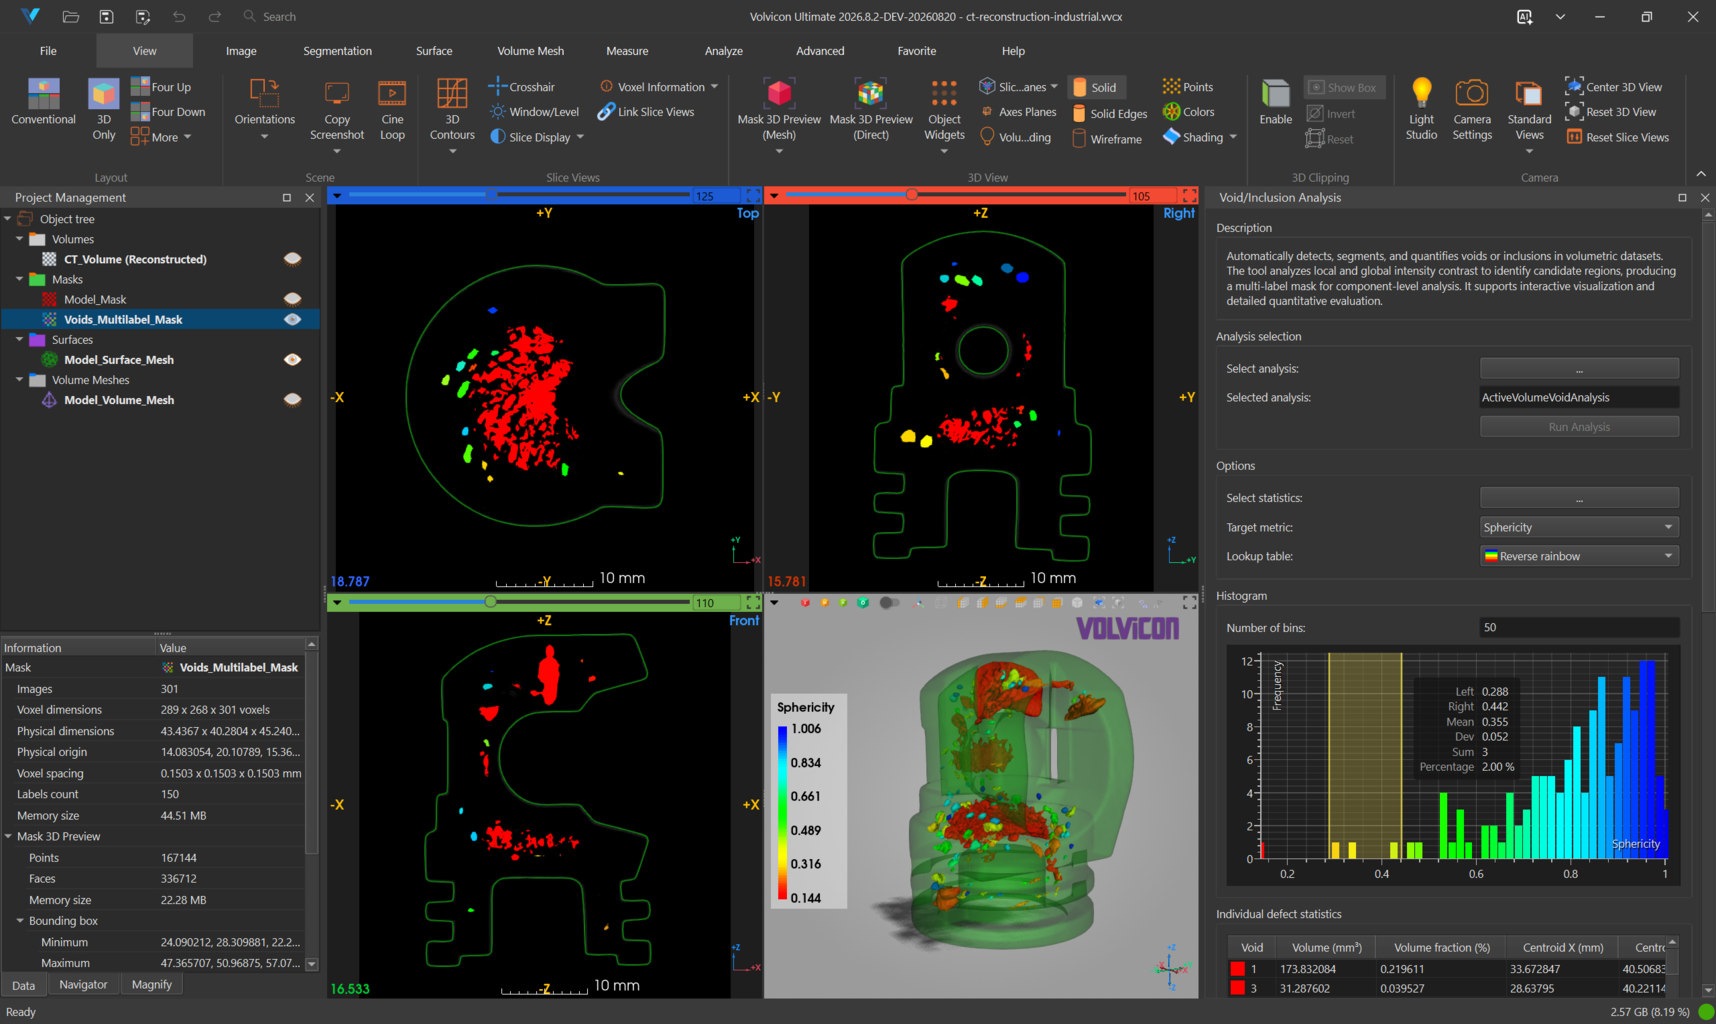
The guided tutorials are complete, start-to-finish lessons built on the sample datasets that are installed with Volvicon. Unlike the topic tutorials, which explain one tool at a time and work with any dataset, each guided tutorial follows a single real dataset from import through segmentation, surface and mesh preparation, measurement, analysis, automation, and presentation.
Every value, object name, and menu path in these tutorials refers to the data that ships with the product, so you can follow along exactly and compare your result with the expected one.
The Tutorials
| # | Tutorial | Dataset | Focus | Time |
|---|---|---|---|---|
| 1 | Industrial CT Inspection | tutorial-1 | Volume rendering, porosity and wall thickness inspection, surface repair, statistics, scripting, animation | 90 min |
| 2 | Medical CT: From AI Segmentation to Simulation | tutorial-2 | Multi-label AI segmentation, label editing, semi-automatic segmentation, surfaces, volume meshes, measurements | 75 min |
| 3 | DICOM Import and Semi-Automatic Segmentation | DICOM-1 | DICOM series import, threshold families, dynamic region growing, mask refinement | 45 min |
The three tutorials are independent, but they are ordered so that concepts introduced in one are reused in the next. If you are new to Volvicon, work through Getting Started and Navigating the Interface first.
Where the Sample Data Is Installed
The tutorial data is copied to the Volvicon installation folder during setup:
<Volvicon installation folder>\samples\tutorial-data\
├── tutorial-1\
│   ├── ct-reconstruction-industrial.vvcx
│   ├── wall-thickness-analysis-script.py
│   └── video-recorder-animation-preset.json
├── tutorial-2\
│   └── ai-segmentation-medical.vvcx
└── DICOM-1\
    └── IMG0001.dcm ... IMG0332.dcm
If you are not sure where Volvicon is installed, open Advanced ▸ Automation ▸ Scripting and run these two lines. The path is printed in the output console.
import ScriptingApi as api
app = api.Application()
print(app.get_installation_directory())
The installation folder is usually write protected, and a future update may replace its contents. Before you start, copy samples\tutorial-data to a working folder such as Documents\Volvicon\tutorial-data, and open the copies. That keeps the originals intact and lets you save your progress next to the data.
Before You Start
| Requirement | Notes |
|---|---|
| A valid license | See the License Guide. A demo license is enough to follow every step. |
| A GPU that supports volume rendering | The Isosurface Renderer and Average Projection modes are only selectable while the volume uses GPU rendering. See Troubleshooting Graphics Driver Crashes if the 3D view misbehaves. |
| Free disk space | The two sample projects are about 65 MB each. Saved copies, exported reports, and recorded videos need additional space. |
| Optional: an AI framework | Only the last, optional section of Tutorial 2 runs an AI model. Everything else uses results that are already stored in the project. |
Conventions Used in These Tutorials
Ribbon paths
Segmentation ▸ Create Mask ▸ Threshold means: open the Segmentation ribbon tab, look in the Create Mask section, and click Threshold. Where a button has a drop-down menu, the entry is named after the button, for example Mask Statistics ▸ Per-Label Mask Statistics.
Active, selected, and visible
Volvicon distinguishes three states in the scene tree, and most tools depend on them:
| State | Meaning | How to set it |
|---|---|---|
| Active | The one object of its type that tools operate on by default. Shown in bold. | Click the object in the scene tree. |
| Selected | One or more highlighted objects, used by tools that offer a "Selected objects" target. | Click, or Ctrl-click / Shift-click for several. |
| Visible | The object is drawn in the views. Used by tools that offer a "Visible objects" target. | Click the visibility icon next to the name, or press Ctrl+E. |
An object can be visible without being active, and active without being visible. When a tutorial step does not behave as described, this is the first thing to check.
Slice view names
The three slice views are colour coded, and their names follow the preset selected in View ▸ Scene ▸ Orientations:
| Colour | Plane | Name with a medical orientation | Name with an engineering orientation |
|---|---|---|---|
| Red | YZ | Plane 1 (YZ) | Right |
| Green | XZ | Plane 2 (XZ) | Front |
| Blue | XY | Plane 3 (XY) | Top |
These tutorials use the plane names (Plane 1, Plane 2, Plane 3) and mention the colour where it helps. If your view titles read Right, Front, and Top instead, you are on an engineering orientation preset, and the mapping in the table above still applies.
Undo
Almost every operation in these tutorials can be reverted with Ctrl+Z, and reapplied with Ctrl+Y. Camera changes have their own history in the 3D view: Ctrl+B and Ctrl+G.
Getting Help While You Work
- Press
Ctrl+Fanywhere in the ribbon to search for a tool by name. - Hover any ribbon button to read its tooltip, which names the exact function and its shortcut.
- The GUI Reference documents every parameter of every tool referenced here.
- The AI Assistant can answer questions about the current project and write scripts for you.
Next Step
Start with Tutorial 1: Industrial CT Inspection, or jump to the tutorial that matches your field.