Installation
This page describes how to install Volvicon on your system.
Prerequisites
Before installing, verify that your system meets the system requirements.
Administrator privileges are required to install Volvicon.
Installation Steps
- Download the installer from your licensed download portal.
- Run
Volvicon_XXXX.X.X_x64_Setup.exe(right-click and choose Run as administrator if required); close other applications before installing. - Follow the installation wizard:
- Accept the license agreement
- Select installation directory (default:
C:\Program Files\Volvicon) - Choose components to install
- Click Install
- Wait for installation to complete.
- Click Finish.
If upgrading from a previous release, the installer may prompt to uninstall the earlier version first — follow the prompts to remove the previous installation or allow the installer to perform an in-place upgrade.
See the screenshots below for common installer dialogs.
Installation Options
| Option | Description |
|---|---|
| License agreement | Accept the End User License Agreement |
| Destination folder | Select the installation directory |
| Components | Choose the specific components to install |
| Desktop shortcut | Creates a shortcut on the desktop |
| Launch Volvicon | Option to launch Volvicon immediately after the installation completes |
Local AI Support
The installer may include an optional Local AI Support component. This component is selected by default when it is included in your installer.
Keep Local AI Support selected if you want the AI Assistant to run downloaded AI models on this computer, including offline use after the model has been downloaded.
You can clear Local AI Support to reduce the installation size if you plan to use an online AI provider for the AI Assistant. Volvicon will still install normally, and the AI Assistant can still be configured for an online provider later.
If you clear Local AI Support and later want to use local AI, run the installer again and keep Local AI Support selected, or contact your software vendor for the supported local AI setup for your license.
Installer Screenshots
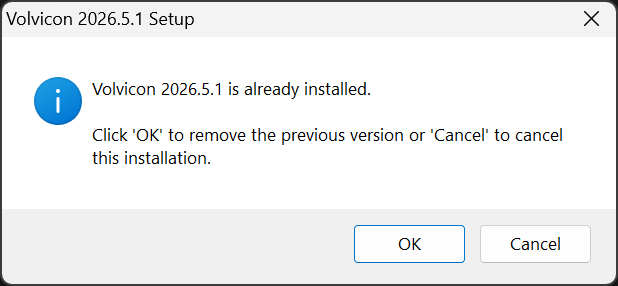
If a previous version is detected, you may be prompted to uninstall it before installing the new version.
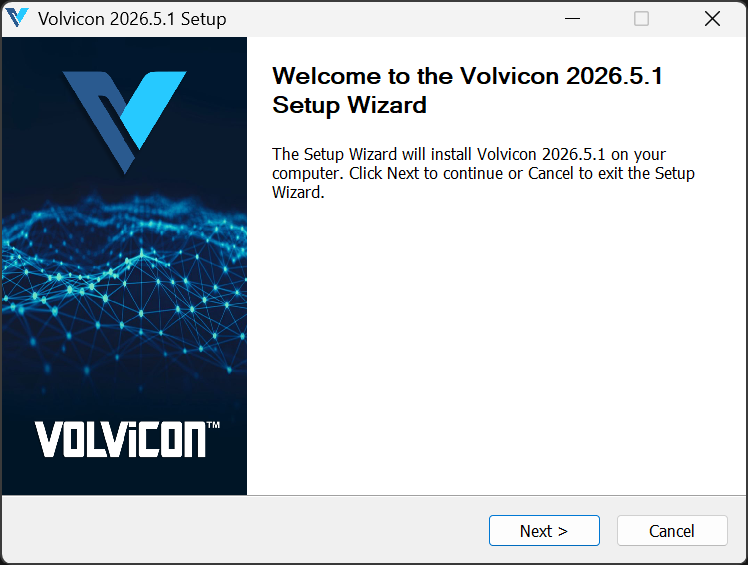
Welcome screen — click Next to proceed.
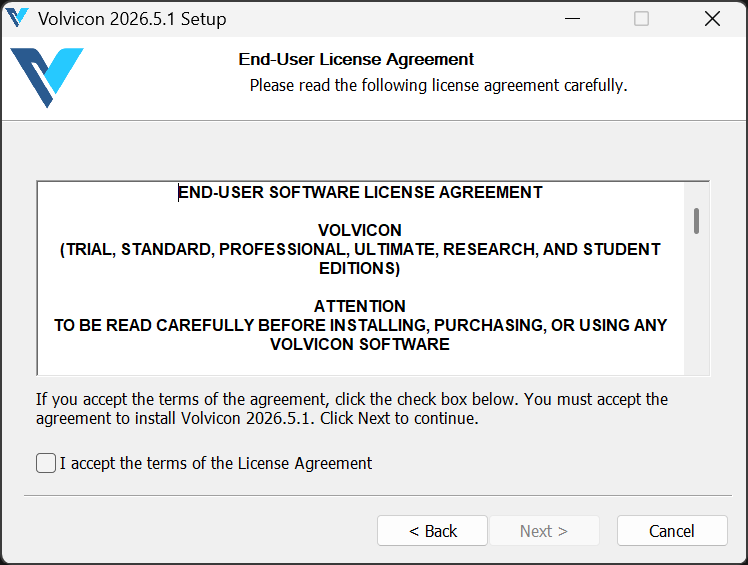
Review and accept the End User License Agreement to continue.
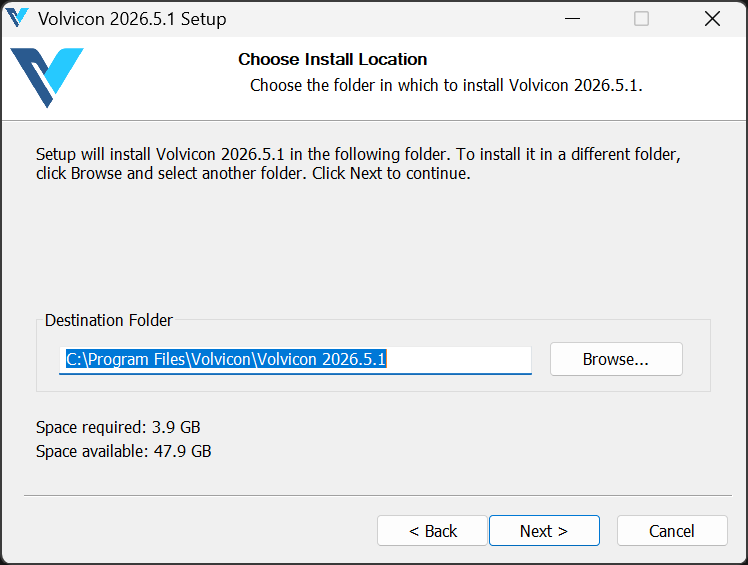
Choose the installation directory (default shown) and click Next.
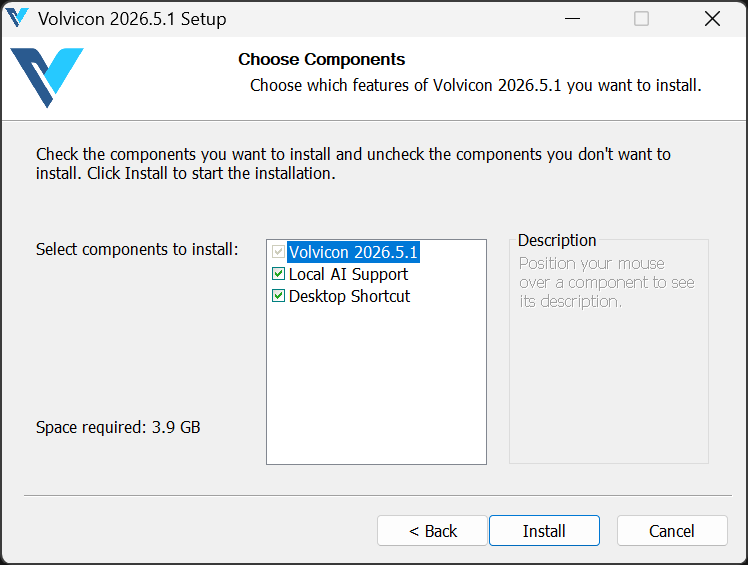
Install the standard components using the default selections, or clear optional components such as Desktop Shortcut or Local AI Support if you do not want to install them.
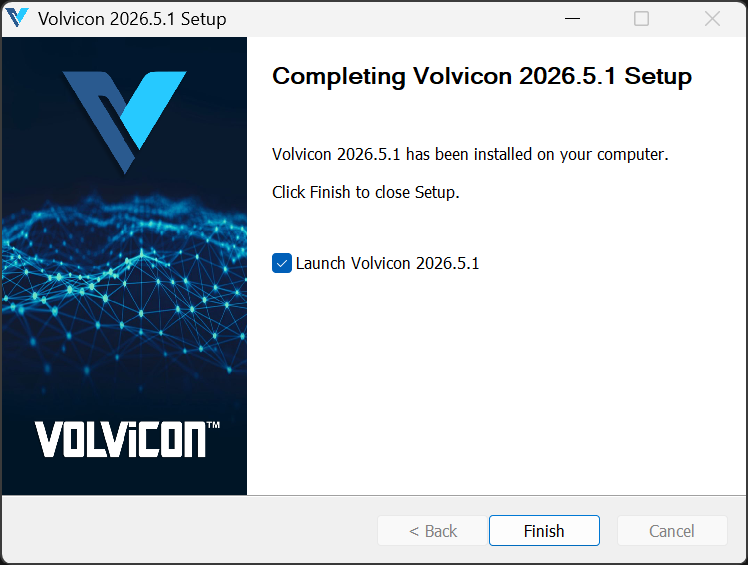
Option to launch Volvicon immediately after installation completes.
License Activation
Volvicon requires license activation before use. The License Manager dialog appears on first launch or can be accessed via Help > Register Volvicon.
The License Manager provides two options:
| Option | Description |
|---|---|
| Apply for a new license | Generate the hardware key used to request a node-locked license |
| Existing license | Apply a license file you have already received to check its status |
For detailed instructions on requesting and activating a license, see the License Guide.
- Node-locked licenses are tied to the computer that generated the hardware key.
- Floating licenses use a shared concurrent-seat pool. Deploy the same issued
.licfile to authorized workstations; no separate hardware key is required for each workstation.
See the License Guide for both procedures.
Verifying Installation
To verify the installation:
- Launch Volvicon
- Go to Help > About
- Verify the version number and license status
- Check that all ribbon tabs are visible
Updating Volvicon
To update to a newer version:
- Download the new installer
- Run the installer (the previous version is updated automatically)
- Restart Volvicon
Project files created in older versions are compatible with newer versions. Saving a project in a newer version may prevent opening it in older versions.
Enterprise / Silent Install
For enterprise or unattended deployments, Volvicon supports unattended installation options. Contact Volvicon support to obtain an MSI package or the exact command-line switches for silent installs. Example (verify with support): Volvicon_XXXX.X.X_x64_Setup.exe /S for a silent installation. Your IT team may integrate the installer with standard deployment tools (SCCM, Intune, Group Policy).
For floating-license deployments, your IT team can also distribute the same .lic file to a protected local path on each workstation. Each Windows user profile must currently select that path once in the License Manager. A protected UNC network path is also supported, but it must be reachable whenever Volvicon starts. See Floating License Deployment.
Uninstalling
To uninstall Volvicon:
- Open Settings > Apps in Windows
- Find Volvicon in the application list
- Click Uninstall
- Follow the uninstall wizard
Alternative:
- Open Control Panel > Programs and Features, select Volvicon, and click Uninstall.
Note: Uninstall typically removes program files but may retain user settings or project files stored in user profile locations (e.g., %APPDATA% or Documents). Contact support if you need assistance fully removing user data.
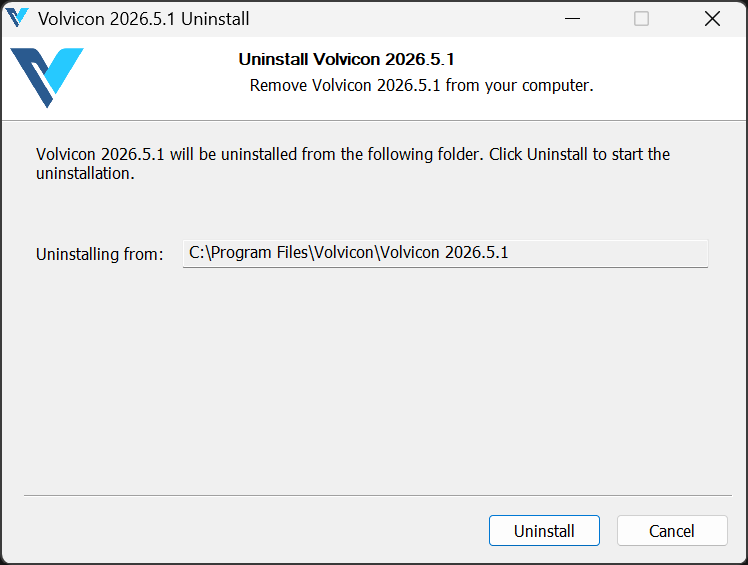
Uninstall wizard — follow prompts to remove Volvicon from your system.
Alternatively, run the uninstaller from the installation directory.
Troubleshooting Installation
| Problem | Solution |
|---|---|
| Installer does not run | Run as administrator; check antivirus software |
| Installation fails | Verify sufficient disk space; check Windows Event Log |
| License activation fails | Verify the license file, system date and time, and internet access. For floating licenses, also verify outbound HTTPS access to api.volvicon.com. |
| Application does not start after installation | Update graphics drivers; verify system requirements |
For additional help, contact your software vendor.