The 3D View
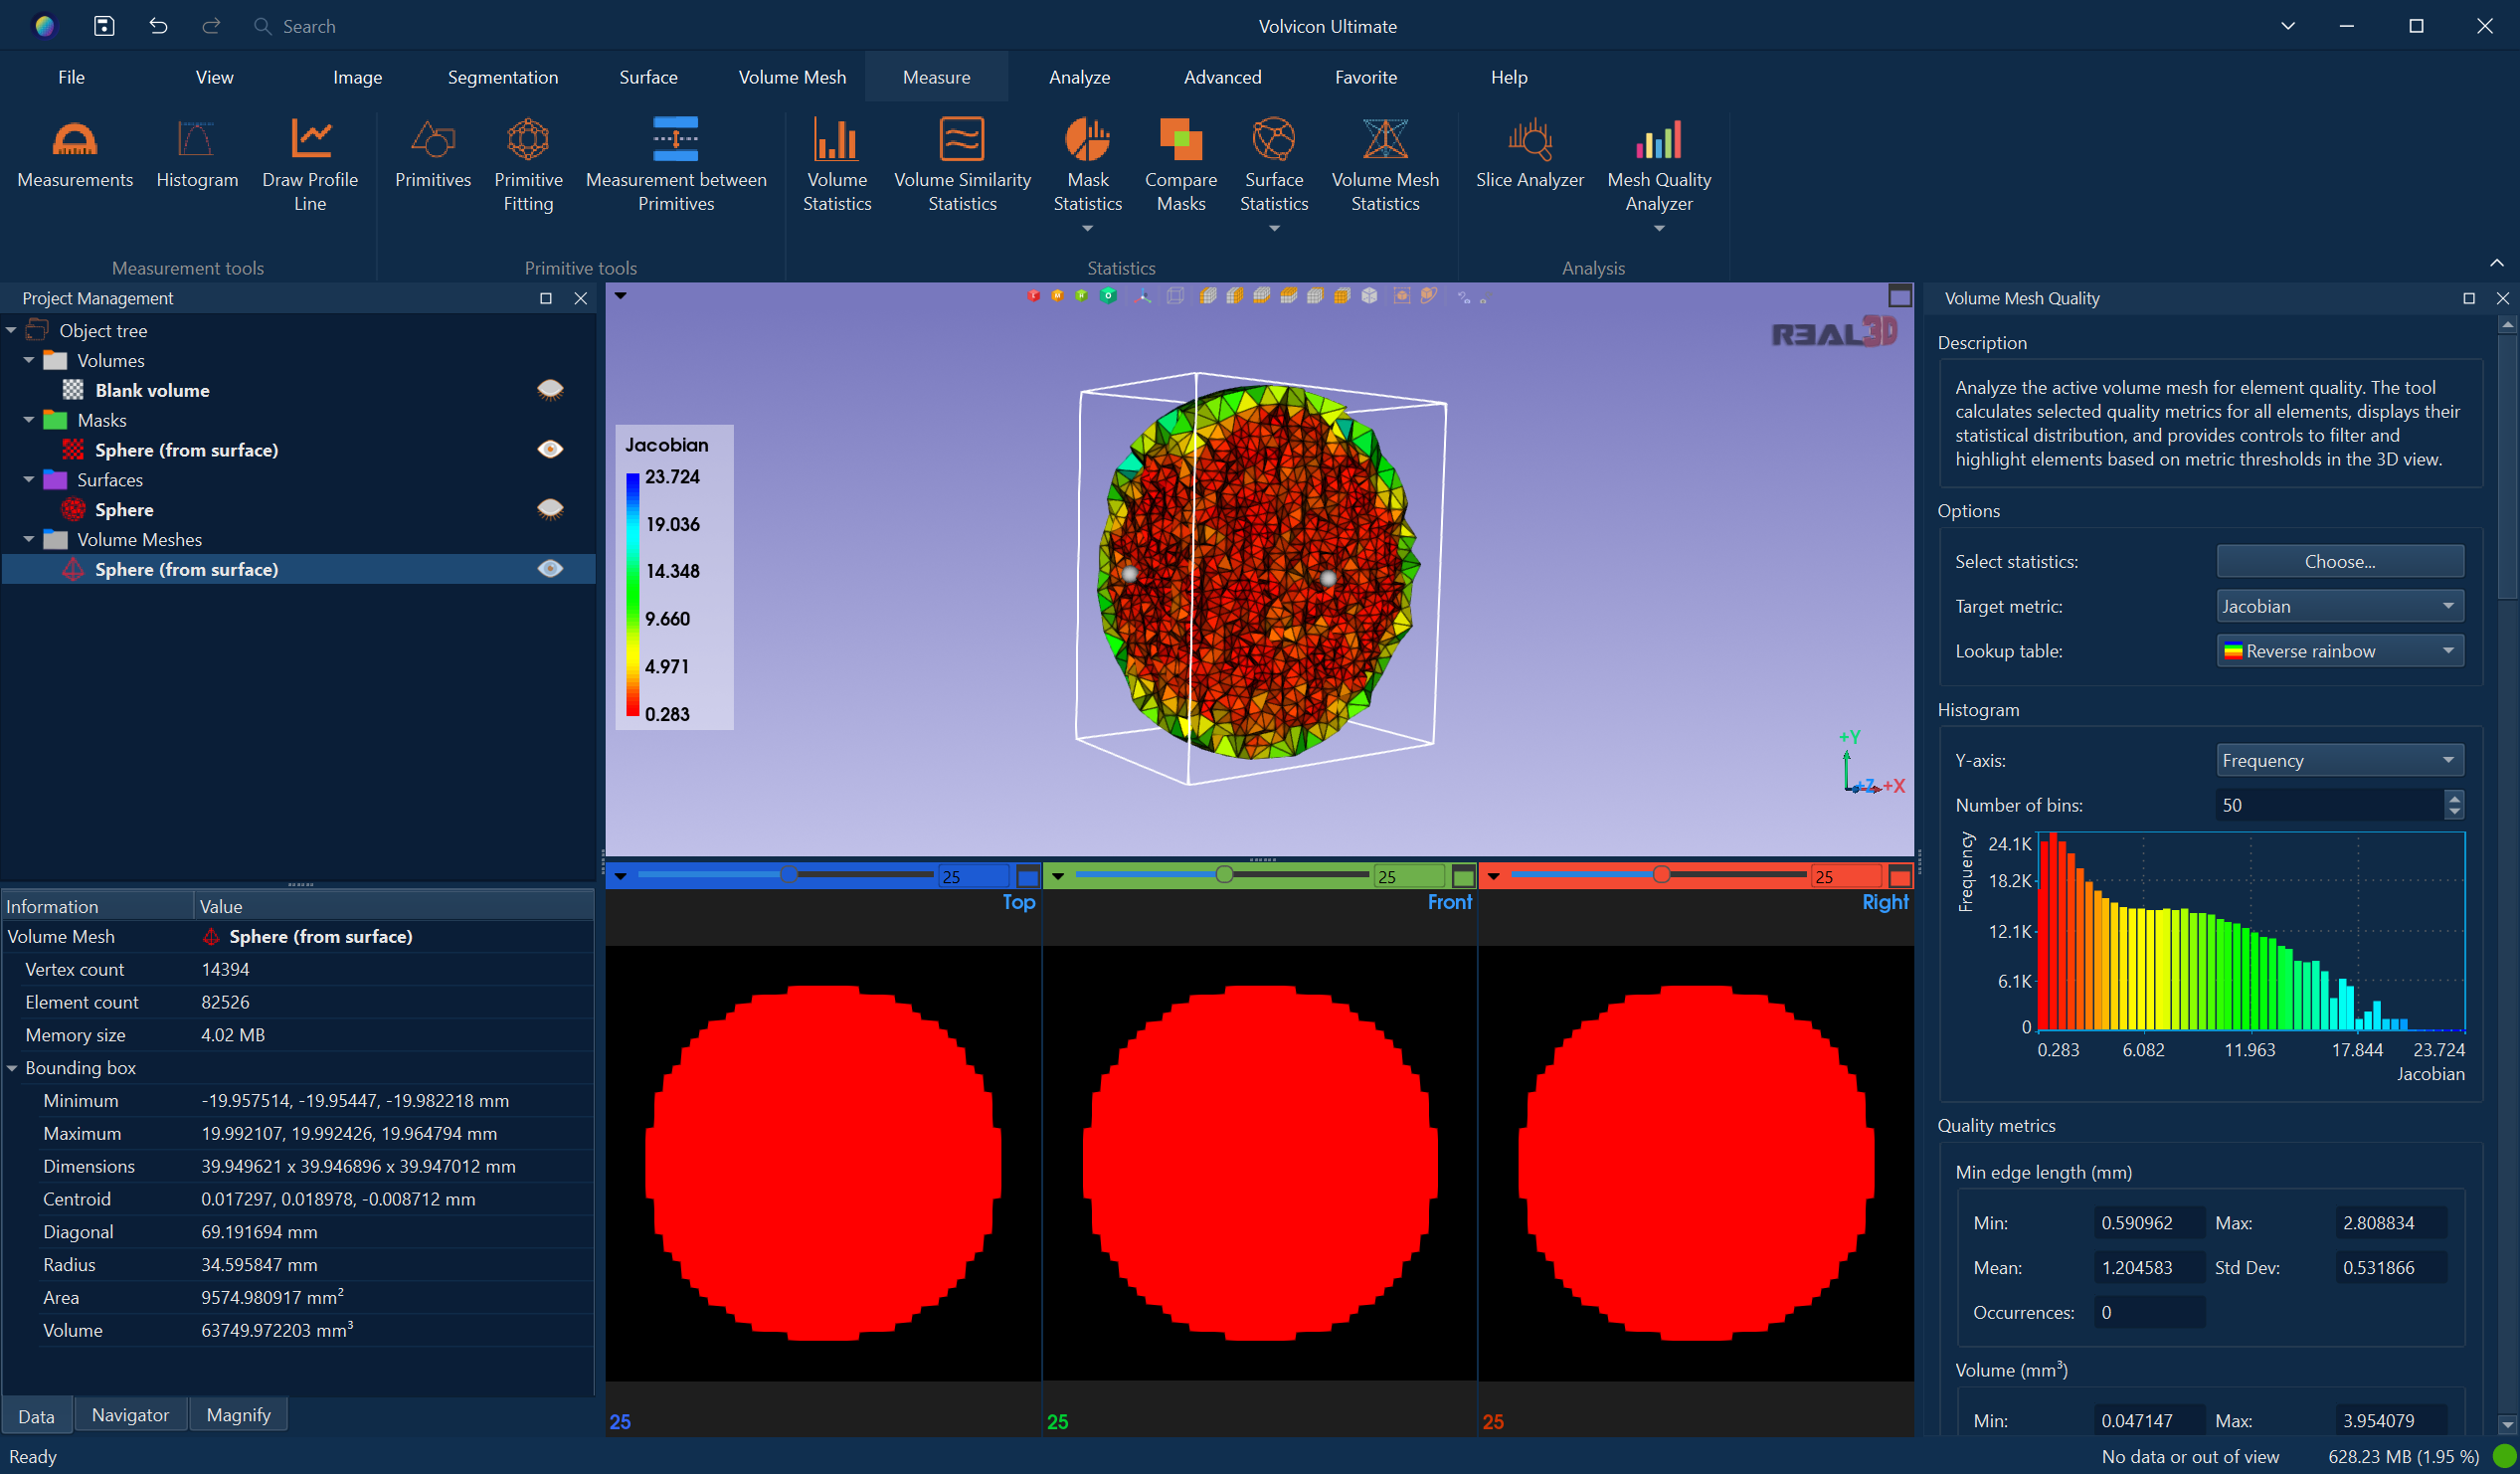
The 3D view displays three-dimensional renderings of your data, including volume images, surface meshes, and volume meshes.
Display Modes
The 3D view can display different types of renderings:
| Mode | Description |
|---|---|
| Volume Rendering | Semi-transparent visualization of volume image data |
| Surface Rendering | Solid display of surface mesh models |
| Volume Mesh Rendering | Display of tetrahedral/hexahedral meshes |
| Mixed | Combination of volume and surface rendering |
Navigation Controls
Mouse Controls
| Action | Mouse | Description |
|---|---|---|
| Rotate | Left-drag | Rotates the view around the centre of rotation |
| Pan | Middle-drag | Moves the view horizontally and vertically |
| Zoom | Right-drag | Zooms in (drag up) or out (drag down) |
| Zoom | Scroll wheel | Zooms in and out in steps |
| Set crosshair centre | Middle-click | Moves the crosshair to the clicked location in all slice views, while the crosshair is enabled |
| Move a slice plane | Shift + middle-drag | Moves the slice plane under the cursor through the volume |
| Pick an object | Right-click without dragging | Selects the object under the cursor in the Scene Tree and opens its context menu |
Keyboard Shortcuts
| Shortcut | Action |
|---|---|
R | Reset view to default orientation |
C | Set center of rotation under mouse cursor and center it on screen |
V | Toggle perspective/orthographic projection |
S | Solid representation mode |
E | Solid with edges representation mode |
W | Wireframe representation mode |
Q | Point representation mode |
X | View from +X direction (Right) |
Shift+X | View from -X direction (Left) |
Y | View from +Y direction (Front) |
Shift+Y | View from -Y direction (Back) |
Z | View from +Z direction (Top) |
Shift+Z | View from -Z direction (Bottom) |
I | Isometric view |
Ctrl+Space | Maximize or restore the active 3D view |
F11 | Detach the active 3D view |
Ctrl+Alt+Space | Toggle fullscreen for the active 3D view |
View Options
Access view options from the View ribbon tab:
Controller And Settings
The 3D view also provides a controller overlay with quick access to view actions and a 3D View Settings dialog. The dialog contains GPU volume-rendering options plus renderer choices for:
| Setting | Description |
|---|---|
| Volume renderer | Choose between Single volume renderer (default) and Multi-volume renderer for grayscale volumes |
| Mask direct renderer | Choose between Single volume renderer and Multi-volume renderer for direct mask preview |
The grayscale volume renderer setting updates the currently loaded volumes immediately. The direct mask preview renderer setting also updates the currently loaded direct mask previews immediately.
For best interaction quality, keep 3D view → View settings → Performance → Quality at Maximum while Mask 3D Preview (Direct) is enabled. Lower settings may show edge artefacts while interacting in the 3D view.
See 3D View Controller And Settings for the full dialog reference.
Camera Settings
| Setting | Description |
|---|---|
| Perspective | Standard 3D perspective projection |
| Orthographic | Parallel projection without perspective distortion |
| Field of View | Adjusts the viewing angle (perspective mode) |
Display Options
The Visibility menu of the 3D view controller shows and hides the scene overlays:
| Option | Description |
|---|---|
| Crosshair Axes | The crosshair marking the intersection of the three slice planes |
| Center of Rotation Axes | A marker at the point the camera orbits around |
| Origin Axes | Coordinate axes at the scene origin |
| Color Map Bar | The colour scale legend of the active colour map |
| Scene Scale Ruler | A distance scale along the edge of the view |
| Scene Bounding Box | An outline around the whole scene |
| Scene Axes Labels | Axis direction labels on the bounding box |
| Show FPS | The frames-per-second counter |
| Software Logo | The logo overlay in the corner of the view |
The Orientation Axes menu chooses the marker in the corner of the view - None, Unidirectional Axes, Bidirectional Axes, Cube, or Human - and its size. Background colours and gradients come from the More Options menu of the same controller.
Lighting
Scene lighting is managed in Light Studio, which handles the default headlight plus up to eight lights, their type, colours, position, and spotlight parameters, one deliberate shadow-casting light, and multi-light presets. Floor shadows and ambient occlusion are configured in 3D View Settings.
Clipping
Two independent mechanisms cut the 3D scene open, and they can be combined:
| Mechanism | Where | Description |
|---|---|---|
| Clipping box | View tab → 3D Clipping | An axis-aligned box; everything outside it is hidden, or everything inside it when Invert is on |
| Slice plane clipping | View tab → 3D View → Slice Planes, or the slice view right-click menu | Cuts the scene open along a slice plane of the active volume, keeping the front or the back half |
Neither modifies the data; both only change what the 3D view draws. See 3D Clipping.

When a clipping or primitive ROI widget is visible, use its controls while the pointer is over the widget: left-drag cuboid faces or handles to adjust them; Ctrl+left-drag translates a cuboid or sphere and adjusts a plane or cylinder; Ctrl+right-drag resizes the widget. These controls take precedence over 3D view navigation. See Default Shortcuts for the full interaction reference.
Volume Rendering Controls
When displaying volume images:
| Control | Description |
|---|---|
| Transfer Function | Maps intensity values to colors and opacity |
| Presets | Pre-configured transfer functions for common use cases |
| Window/Level | Adjusts the displayed intensity range |
| Quality | Balance between rendering speed and quality |
Context Menu
Right-click on an object in the 3D view, without dragging, to select it in the Scene Tree and open a menu for it. The menu opens only when the click lands on an object; right-clicking empty space does nothing.
| Entry | Applies to | Description |
|---|---|---|
| Object name | All | The name of the object the menu belongs to, shown at the top |
| Toggle Visibility | All | Shows or hides the object |
| Activate | All | Makes the object the active one. Not offered when it is already active |
| Color | Surfaces, volume meshes, single-label masks | Sixteen named colours, Random Color, and Custom Color... for a colour picker |
| Opacity | Surfaces, volume meshes, masks | Fixed steps from 1% to 100% |
| Representation | Surfaces, volume meshes, masks | Points, Wireframe, Solid, Solid Edges |
Volumes offer only the name, Toggle Visibility, and Activate, because their appearance is driven by Render Properties. Multi-label masks have no Color entry, since each label carries its own colour, and a mask shown with Mask 3D Preview (Direct) has no Representation entry, since direct rendering draws no mesh.
Press C while hovering over a feature of interest to set the center of rotation there and bring that point to the middle of the 3D view, making it easier to inspect specific regions during 3D exploration.
Related Topics
- 2D Views – Slice-based visualization
- Rendering Types – Volume and surface rendering
- 3D View Tab – View ribbon 3D settings
- 3D View Controller And Settings – Controller overlay and render view settings dialog
- The Interface – Interface overview